
 English
 中文简体
中文简体
Water Bath vs Steam Canning: Which Preservation Method Fits Your Kitchen Best?
Oct 02, 2026
You have a basket of ripe tomatoes, a pot of boiling water, and a choice to make. Water bath canning and steam canning both safely preserve high-acid foods, but they are not interchangeable in every kitchen. Steam canning heats faster, uses a fraction of the water, and cuts energy costs. Water bath canning handles longer processing times, works on any stove, and remains the default for many home preservers. The right pick depends on your recipe's processing time, your cooktop, and how much water you want to boil.
Content
- 1 The Core Difference: Temperature, Time, and Water
- 2 When Steam Canning Wins: Speed and Efficiency
- 3 When Water Bath Canning Still Makes Sense
- 4 The 45-Minute Ceiling and Altitude Adjustments
- 5 Equipment Compatibility and Cost
- 6 Commercial Canning vs Home Canning: A Metal Packaging Perspective
- 7 Safety Rules That Apply to Both Methods
- 8 Which Method Should You Choose?
The Core Difference: Temperature, Time, and Water
Both methods reach the same temperature: 212°F (100°C) at sea level. That heat destroys yeast, molds, and some bacteria in high-acid foods such as jams, jellies, pickles, and tomato products. The difference is how the heat reaches the jars. A water bath canner surrounds jars with boiling water. A steam canner surrounds them with steam generated from a shallow water reservoir.
That design change creates practical gaps. A water bath canner needs enough water to cover jars by 1 to 2 inches, often 3 to 4 gallons. A steam canner typically uses 2 to 3 quarts. Less water means faster preheating and lower energy use, but it also means the water can boil dry during long processing. Most steam canner manufacturers cap processing at 45 minutes. Beyond that, you must switch to a water bath canner or a pressure canner.
When Steam Canning Wins: Speed and Efficiency
Steam canning shines for small batches of high-acid foods that process in 45 minutes or less. Preheating a steam canner takes about 5 to 10 minutes, compared with 20 to 30 minutes for a large water bath canner. You also avoid hauling heavy pots of water from the sink to the stove. For a few jars of pepper jelly or quick pickles, the time and water savings are real.
Energy use drops too. Heating 3 quarts of water requires far less fuel than heating 3 gallons. If you can or preserve frequently in small batches, a steam canner can lower your utility bill and reduce kitchen humidity. The method also works well on outdoor burners and some induction cooktops, provided the canner has a flat, magnetic base.
When Water Bath Canning Still Makes Sense
Water bath canning remains the safer choice when a recipe calls for more than 45 minutes of processing. Tomato sauce, apple butter, and many fruit preserves often need 50 to 85 minutes, especially at higher altitudes. A water bath canner can run indefinitely as long as you maintain the boiling water level. That flexibility matters for large batches and for recipes that thicken slowly.
Water bath canning also works on every cooktop, including glass-top and induction ranges, as long as the pot is flat and magnetic. You do not need a special canner; a deep stockpot with a rack can work. For beginners, the method is more forgiving because you can see and adjust the water level. The trade-off is more weight, more water, and longer waits.
The 45-Minute Ceiling and Altitude Adjustments
The 45-minute limit for steam canning is not arbitrary. Below that time, a typical steam canner holds enough water to maintain steam without boiling dry. Above it, the risk of a dry pot and failed seals rises. Some dual-use canners claim longer times, but testing is limited, and food safety agencies recommend sticking to the 45-minute cap.
Altitude changes everything. Water boils at lower temperatures as elevation increases. At 3,000 feet, water boils at about 206°F; at 6,000 feet, about 201°F. Both water bath and steam canning require longer processing times at altitude. The adjustment is the same for both methods, typically adding 5 minutes per 1,000 feet above sea level for high-acid foods. Always check a reliable altitude chart for your recipe.
Equipment Compatibility and Cost
A basic water bath canner costs $30 to $60. It is often just a large pot with a lid and a rack. A steam canner costs $50 to $100 and includes a domed lid, a water reservoir, and sometimes a temperature gauge. Dual-use models can do both, but the steam function may not be approved for all processing times.
Stove compatibility is another factor. Steam canners need a steady boil and a flat base. Some glass-top ranges cycle heat on and off, which can break the steam column. Manufacturers may advise against using steam canners on glass-top or induction cooktops unless the canner is specifically rated for them. Water bath canners are less picky, though heavy pots can scratch glass tops.
Commercial Canning vs Home Canning: A Metal Packaging Perspective
Home canning uses glass jars, but commercial canning runs on metal. A food can starts as coated steel coil, gets printed, cut, and formed into a body, then sealed with an end. The materials must resist corrosion, withstand retort temperatures, and meet food-contact regulations. That is a different world from a kitchen water bath, but the safety goal is the same: a hermetic seal and a commercially sterile product.
Zhejiang Jinma Packing Materials Co., Ltd. supplies metal packaging materials for that commercial side, including can body steel, easy-open end stock, and food can bottom end stock. If you are specifying materials for a food can line, the choice between single-color and multi-color body steel affects decoration and cost. The which can body steel is right for your food can guide breaks down those trade-offs.
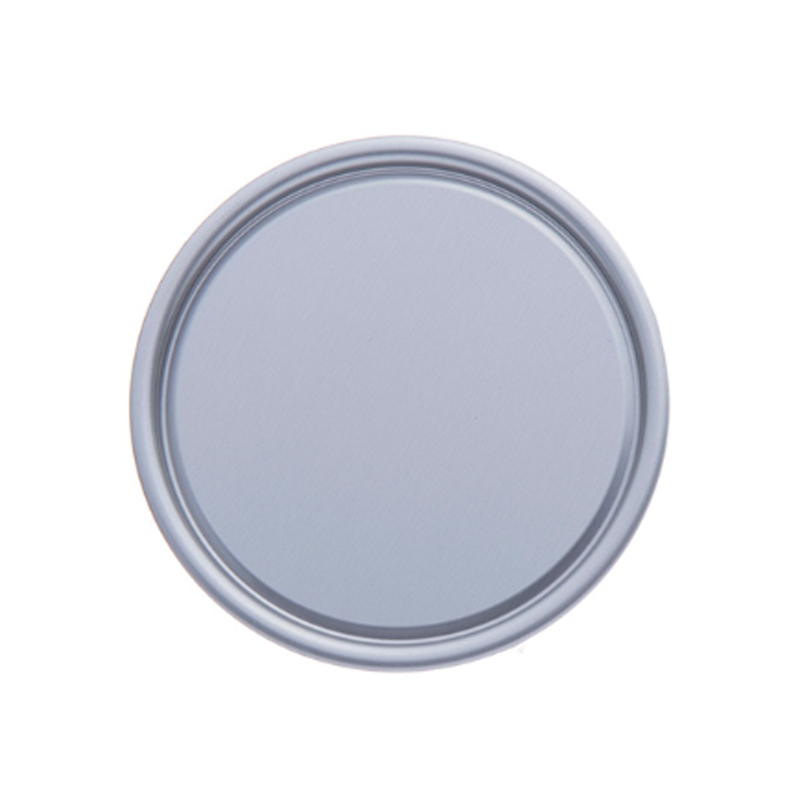 Food Can Bottom End Stock Round ShapeMaterial: Tinplate, TFS, Laminated Steel, or AluminumView Product →
Bottom end stock comes in round, rectangular, and irregular shapes. The round shape is the workhorse for standard cylindrical cans, while irregular shapes suit specialty containers. Coating and printing quality determine how well the end performs during seaming and how the final package looks on shelf.
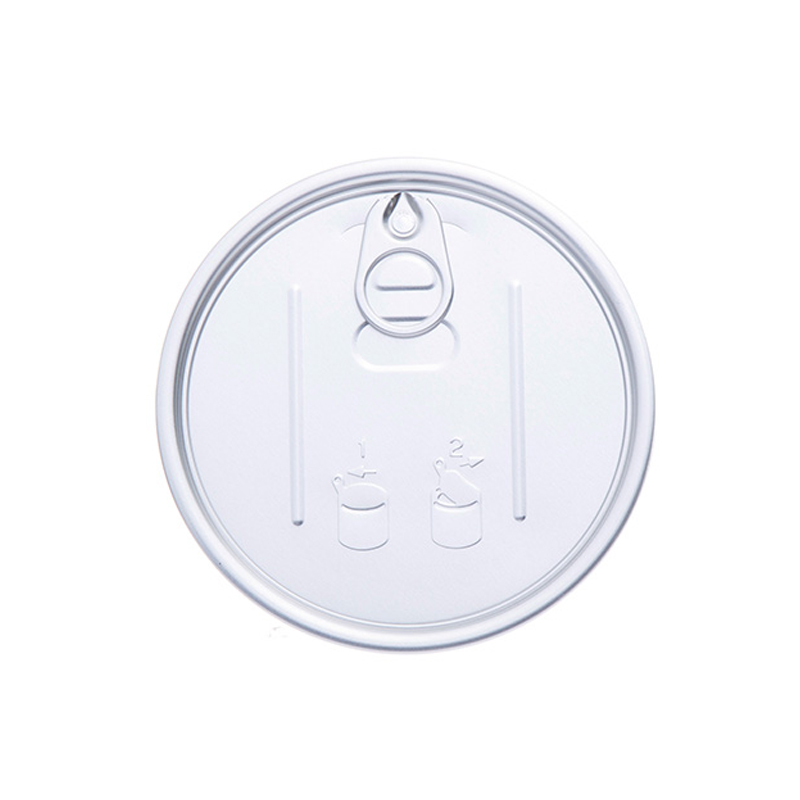 EOE Stock Dried Food EOEColor: Customized single-color or multi-colorView Product →
Easy-open ends add convenience. Dried food EOE stock must balance opening force, score depth, and corrosion resistance. For can body steel, three-piece and two-piece lines have different requirements. A single-color three-piece body steel keeps costs down for high-volume, simple decoration.
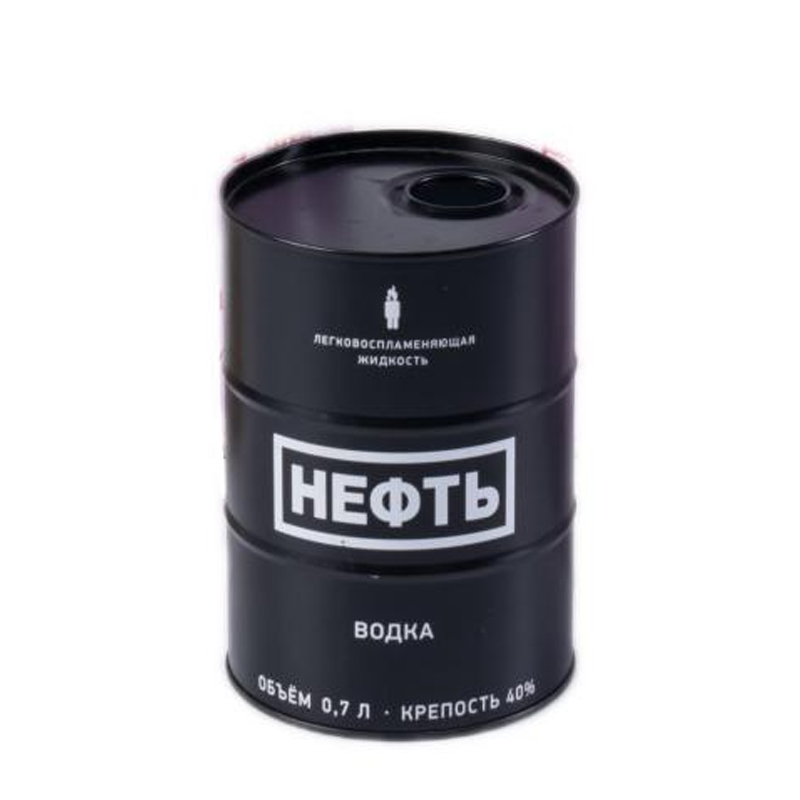 Three-piece can Can body steel Single-colorMaterial: Tinplate or Laminated SteelView Product →
These materials pass through coil coating, slitting, cutting, and punching. Each step affects flatness, coating adhesion, and dimensional tolerance. Commercial canners rely on that consistency because a few microns of coating variation can cause leakers or seam defects.
Safety Rules That Apply to Both Methods
No method is safe if you skip the basics. Use only tested recipes from reputable sources such as the USDA or a university extension. Keep high-acid foods above pH 4.6; low-acid foods like green beans, corn, and meat require a pressure canner, not a water bath or steam canner. Sterilize jars when processing under 10 minutes. Leave the correct headspace, remove air bubbles, and wipe rims before sealing.
During processing, monitor the temperature. For steam canning, the steam must stay at 212°F (100°C) at sea level, and the canner must not run dry. For water bath canning, keep jars covered by 1 to 2 inches of water and bring back to a full boil before starting the timer. After processing, let jars cool undisturbed for 12 to 24 hours, then check seals. A failed seal means the food is not shelf-stable. For commercial operations, quality control programs test seam dimensions, coating weights, and retort schedules to prevent similar failures at scale.
Which Method Should You Choose?
If your recipe processes in 45 minutes or less and you want faster preheating, less water, and lower energy use, steam canning is a practical choice. It works best for jams, jellies, pickles, and small batches of tomato products. If your recipe needs longer processing, if you have a glass-top or induction range without a steam-rated canner, or if you simply prefer the tried-and-true method, water bath canning is the safer bet.
Either way, follow an approved recipe, adjust for altitude, and do not push a steam canner past its limit. The best method is the one you will use correctly and consistently, whether you are sealing a dozen jars in a home kitchen or specifying metal packaging for a commercial canning line.

- Address: No. 11 Zhenxing Road, Hangzhou Bay Shangyu Economic and Technological Development Area, Zhejiang, China
- Phone: +86-137 5814 2106 / +86-130 1771 8906
- TEL: +86-575-8272 2388 / +86-575-8272 2366
- E-mail: sales@hz-jinma.com

 sales@hz-jinma.com
